Monday, January 13, 2014
Printing another checkers game
Monday, August 1, 2011
Stone Dominoes
Sunday, July 10, 2011
Handprinted Checkers/Draughts Game


One picture shows the beanbags main side, and the other shows the other beanbag side which is used when you king a piece. The beanbags are made from fabric, which has been hand-printed with hand-carved stamps I made from linoleum.
I´m really happy with it and there were lots of creative steps in it. I enjoyed carving the linocut stamps and figuring out the colours. There wasn´t a huge amount of work in it, but it took quite a long time to do, fitting it around work and kids.

My husband even played a game with me last night, and I won (I think he might have let me win). Here is a pic of him playing against our cat, Tess.
Saturday, April 30, 2011
Handmade checkers game printed
I finished the printing for the checkers game ages ago, and finished the sides. So that´s done. The board is all straight, I´ve just taken the photo on an angle to avoid the flash. It took me two hours to handprint it, with a handcarved linocut stamp which I made of a wave design. Each square is about 8cm x 8cm (approx 2.5 inches square). I didn´t use the previous ocean design stamp I carved because I was running out of fabric and it would have been too big, and possibly too complicated. Over such a large board, the background squares need to be quite simple or the eye finds it too hard to spot the checkers pieces on it.
All the beanbag checker pieces are printed now too, with handcarved linocut stamps I made, and I just have to cut them out, sew and fill them...[Here it is finished.]
Friday, March 25, 2011
Bags for the Dots and Dashes game
I´ve finally gotten around to making some bags for the Dots and Dashes game I collected / made. They are basically just the drawstring bag pattern from Heather Ross' Weekend Sewing book.
The green bag is about 20 cm tall once sewn up, and the little bags are about 10 cm tall. They look quite cute. The little bags contain one set of the pieces, in this case, I decided to keep the red stones, the cream stones, and the driftwood. The little bags sit inside the big green bag, on top of the sticks.Monday, February 28, 2011
Colour scheme for game
I can either do all sand coloured pieces (which I thought goes with the sea theme):
Or I can do orange vs blue pieces. I like this, but visually, I think the blue seems to bring the whole thing down. Mmmm. [I´ve since finished this game here.]


Wednesday, February 16, 2011
Handmade Checkers Game - final board stamp
I´ve recarved the checker board linocut ocean waves stamp and this will be the final one. I want to print ithe checkers board now, but my fabric is 2cm too narrow. Argh! I´m thinking of lopping off half an inch on the edges of the stamp just to save another trip to the fabric store...Saturday, February 12, 2011
Handmade checkers game - black pieces final version


These will form either side of the black pieces, which will be little circular, flat bean bags. They are printed on a fine weight unbleached calico, which I really like working with. The black printing is still not as dark as I would like it to be. I had to put more paint that I would like on the linocut stamps to even get it this dark. I wonder if my black paint isn´t actually opaque (the packaging doesn´t say...)? Must investigate this before printing the final pieces. [I´ve since finished this game here].
Thursday, February 10, 2011
Handmade checkers game - black pieces
I´m sewing a checkers game for my 5 year old, and the pieces and board will be printed with linocut stamps I´m carving. The pieces will be very flat, circular beanbags. [Click here for the finished game]
This is the original drawing.
This is how I originally carved it. I think its not bad considering I carve in short bursts between cooking dinner/ working/babies. But I think I got a bit confused about whether it is a white design on black or a black design on white. I tried to correct it as much as I could in the big pic above. I almost like the photo of this better than the final version above, but in real life and in real size the final pic above looked better.
I use a cheap foam brayer which soaks up a lot of paint, which just gets washed out afterwards. So I thought a rubber brayer might be better. Nope. The rubber brayer (used in this pic) doesn´t seem to be able to transfer enough paint for fabric printing, although I think it might be good for paper printing. So, back to the foam brayer.Monday, February 7, 2011
Handmade checkers game - black pieces
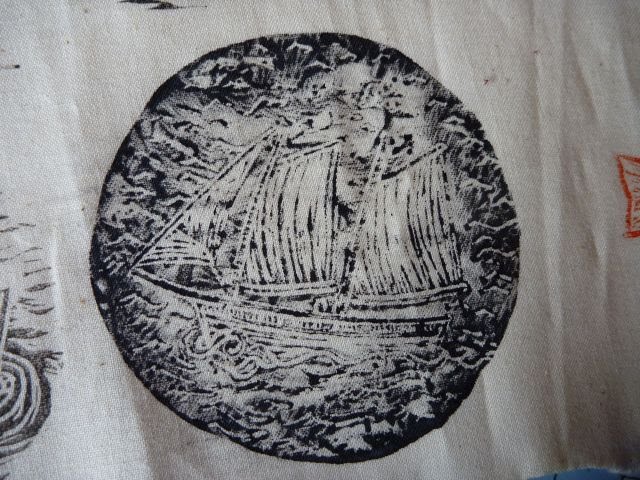
Now that I´m confident that some sort of checker board is possible, I´m moving back to the pieces. I need to work out a black piece and then I can see what size of board will allow the black pieces to stand out OK against the backgrounds. I´ve settled on some sort of boat design for the black pieces. Left is the original design.
Then the design is put face down on the lino and rubbed on the back with a pencil to press the pencil markings onto the lino.
The transferred design is very faint (and in mirror image, of course), but it is clear enough to redraw over OK.
The design is then carved, and cut out with scissors. The lino is stiff to cut, but its not hard to do. I usually cut a deep line along the line I want to cut out with scissors.
Here is the stamp printed on fabric with fabric paint. I´m really happy with how it turned out. The final printing will be just a bit darker. The reverse side of thie piece (the side that is turned over when the piece is queened), will be a cutter sailing boat.Thursday, February 3, 2011
Handmade checkers game board - first draft

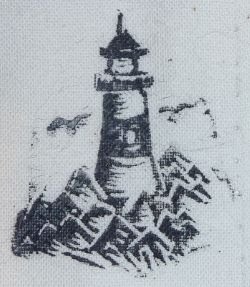
I´m taking a break from the pieces to work on the board now. I´ve decided to do it in three colours, and have carved a lighthouse and whale stamp. (both need cleaning up on the sides). Here are some quick first prints to see how the stamps turned out (done in a rush while my husband put the baby to bed). I really like how the lighthouse turned out, although I´ll ditch the seagulls, and tidy the sides up.
These are the two under-stamps. The basic sea, and the wave overlay. I need to pull the stamps off a bit cleaner next time - the paint bled a bit.
This is how this series of stamps looks together, with some of the pieces on top. The squares are all different in this pic because I´m testing different shades of blue and black. Although I like the whale, I think it makes the checkerboard look too busy. My next step is to recut the ocean backdrop, 1cm smaller, and with no white gap for a whale.
This is how it looks with a whale, and no sea under-stamp. I like this pic the best, but it doesn´t create a very defined draughts board.Saturday, January 22, 2011
Handmade Checkers game - first draft


Lena Corwin´s book Printing by Hand explains how to do stamping, screenprinting, linocuts, printing etc. It was really good because, although I decided to do linocuts in the end, I was able to think through all the other printing possibilities too. My next project after this one will be a Chinese Checkers board for the floor which I´ll probably screenprint.
Friday, January 21, 2011
Handmade Dots and Dashes Game
I´ve only ever seen this game done with pen and paper, but I thought it would translate well to a floor game. I think the game is called Dots and Dashes, but maybe it has other names too.MAKING THE GAME
This has been made with 10 cm sticks (cut from longer twigs after we trimmed the garden hedge). The sticks are about 5mm thick and easy to cut.
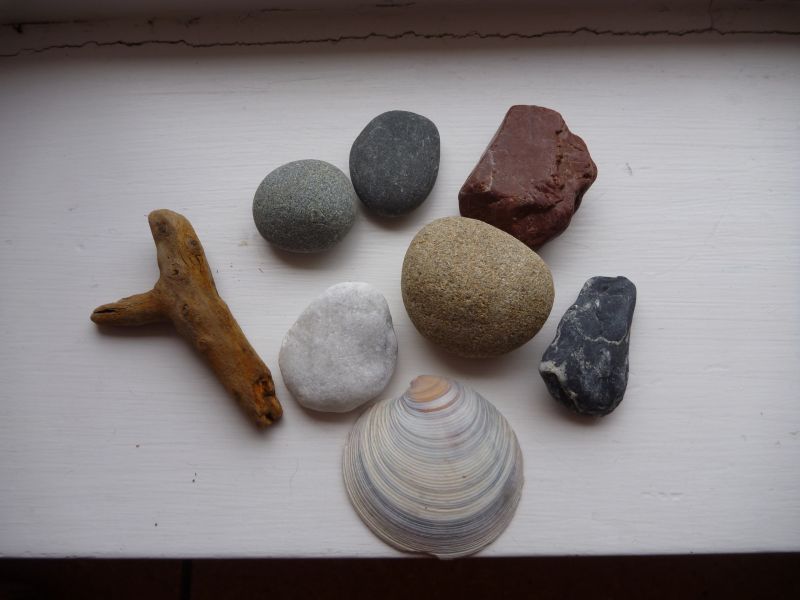
You need one set of markers for each player. Its usually a 2 player game, but no reason why it couldn´t have more players. The kids and I collected pebbles from the river, and initially I thought we would have a different coloured set of stones for each player. The blue stones turned out terrifically, but I really preferred leaving the stones unpainted. in the end. So, use stones, shells, driftwood, pumice, large sticks cut into disks etc etc. 
I´d make about 60-80 sticks in total, and collect about 10-30 markers of each type for each player. If your kids are young, they will probably be happy to have the game end when the markers run out, so do a small number, say 10. For older kids, collect more markers. Pictured right are some different types of markers I found at the beach and river. I´ve since made little bags for the game to hold the pieces.
RULES OF THE GAME
Each person chooses whether they want the their marker to be shells, pebbles etc (whatever you have collected). Each player has their pile of markers beside them.
Have the sticks in a pile so everyone can reach them.
To start, put a stick in the middle of the floor.
Then each player lays down one stick in their go. You can lay down a stick to make the side of a square in any direction, but it has to be touching the end of an existing stick.
The aim is to be the person to lay down a stick that finishes the fourth side of a square – then that person puts one of their markers in that square and it gives them one point. At the end of the game, the winner is the person with the most markers placed.
The game ends when the last stick is used, or person has used up all their markers (whichever you choose).

I was inspired to do this game for my 5 year old son after reading The Creative Family by Amanda Soule-Blake.
It wasn´t quite all smooth sailing collecting the pebbles and things for the game though.... My eldest preferred to collect gravel instead of pebbles at the river ;o), and my one-year old biffed the eldest on the head with his pebbles a few times. We collected sticks together from our garden hedge, but my eldest took them away to make a house for his wombat. So, I really did most of the actual collecting and making myself when the kids weren´t looking. But since making the game, we do make a point of gathering things together for it, like pumice and driftwood at the beach, and that´s been a lot of fun. And I´ve had a lot of fun thinking through the logistics of making the game.
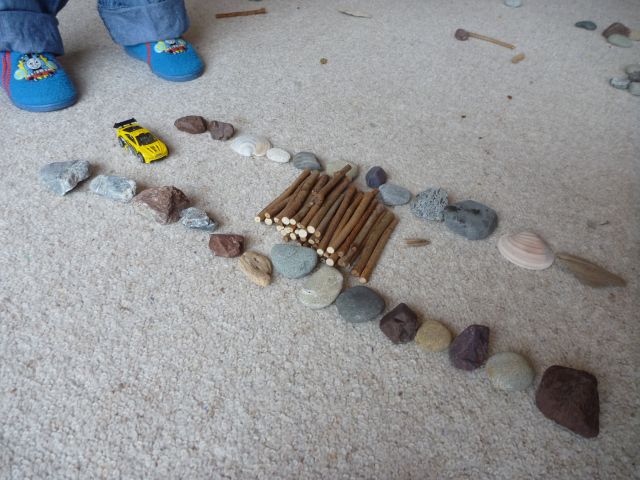
My eldest might be a bit young for a game like this, but I think he´ll grow into it. He kind of likes it, but prefers to make pictures with the sticks and stones instead. But that has been fun too. Here are some other things to do with the pieces...
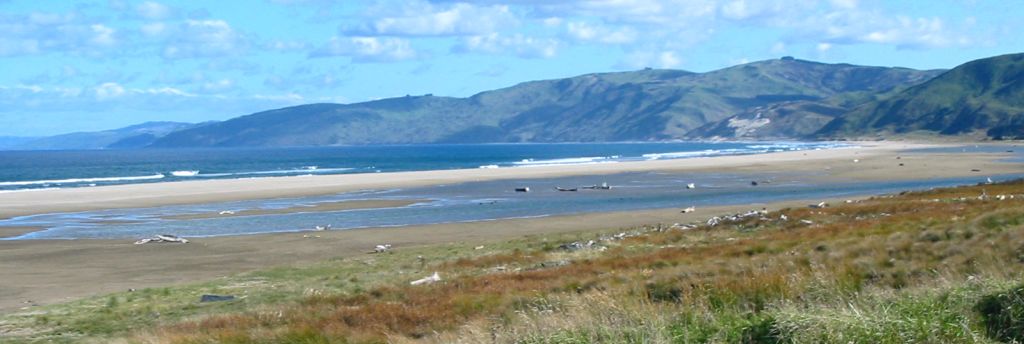
Kaikoura, looking south, South Island, New Zealand