How to make a weighted shoulder blanket for kids with ADHD, SPD, autism, etc.
You need an old t-shirt in the child's size, fabric, plastic pellets, and a zip. (See pattern for figuring out quantities)
1. Make a Pattern
2. Sew the Insert
3. Sew the Cover.
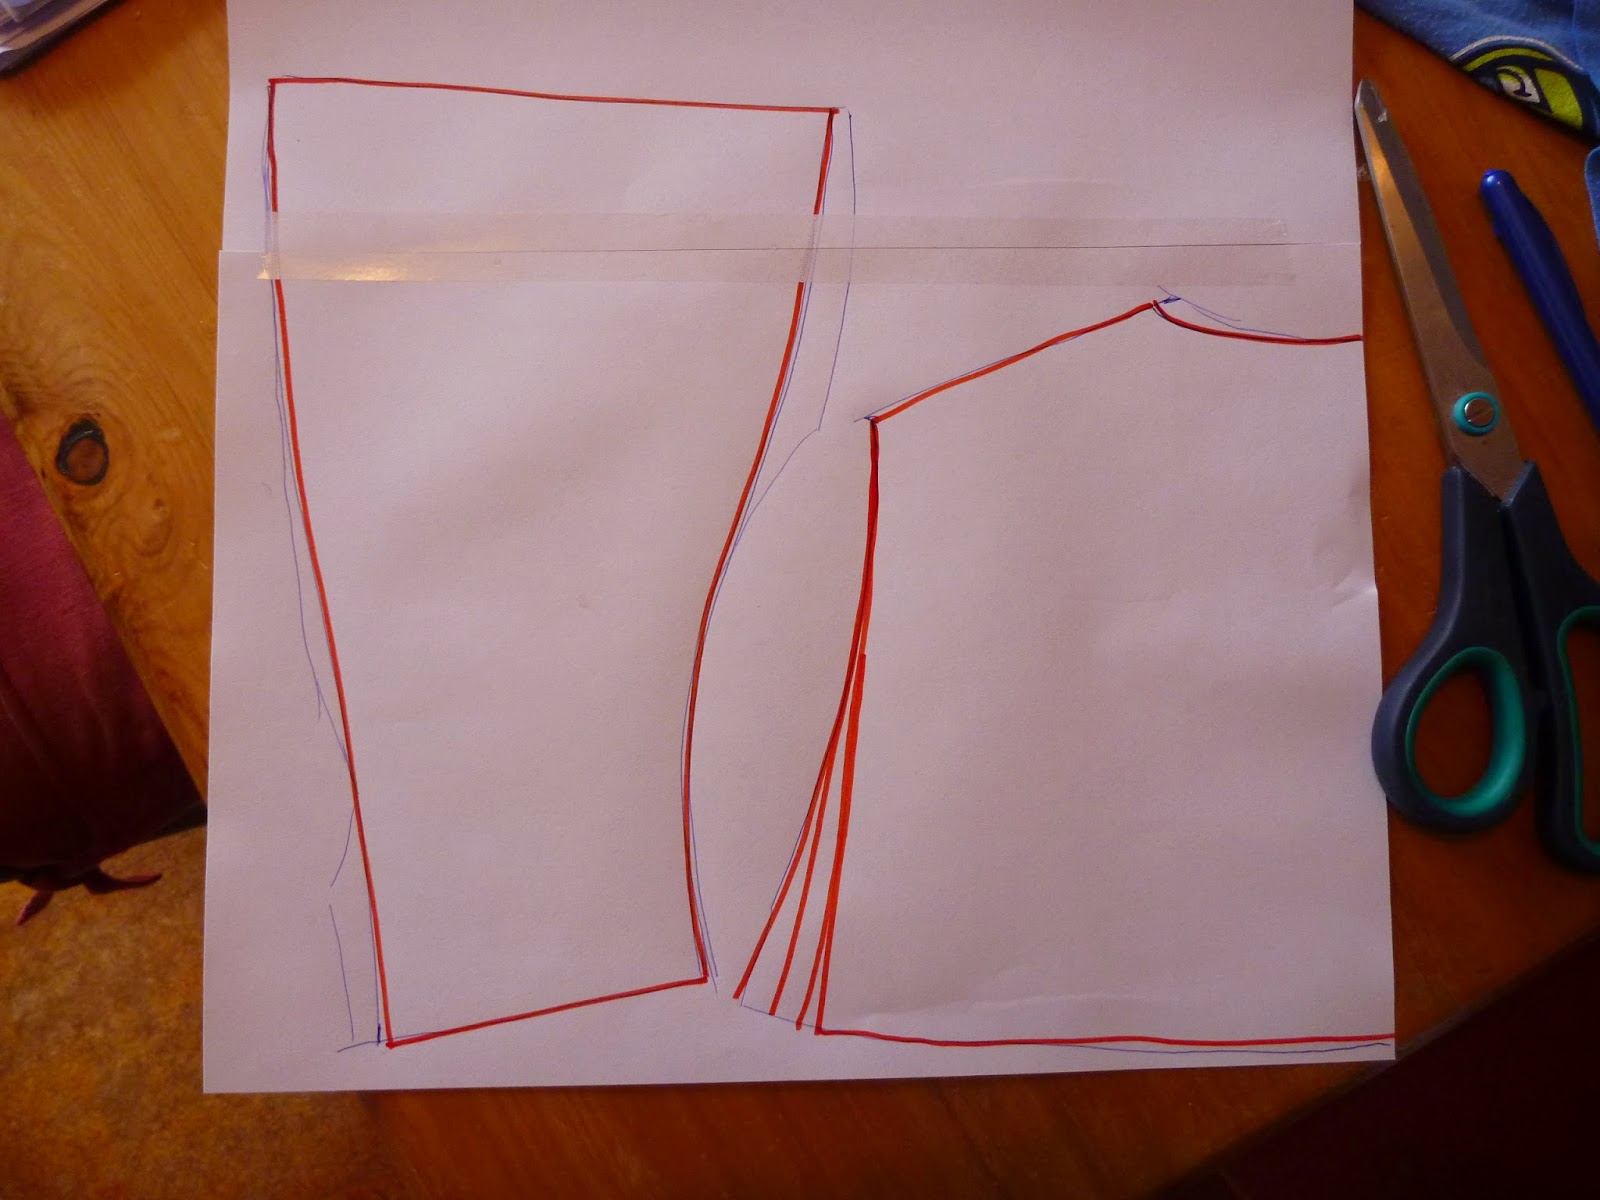
Make a pattern.
Get an old t shirt that you were going to throw away anyway, and cut the arms off. Then cut along the back at the level of the bottom of the arm holes, possibly an inch or two higher. Do the same at the front, but make sure the front is longer than the back.
If I were making this from a single colour fabric, then I would just use the pattern as is. However, my fabric had bears on it, so I had to cut along the shoulder seam, so that I could make the bears not be upside down on the back.
When transferring the pattern to paper I evened out some of the corners. Also, don't make the shoulder seam too thin, as you will need to squash the front flaps through it. Once the stuffing is in the front flaps, they won't fit through the shoulder seams if they are too thin. Make them wider going out towards the shoulders (not on the neck side) if necessary.
Cut the pattern out.
Cover: 4 x front flaps, 2 x back (cut on fold). For the cover, I added on the usual seam allowance as I was cutting it.
Weighted insert: 4 x front flaps, 2 x back (cut on fold). For the weighted insert, I cut it out as is, as if the seam allowance were already in the pattern, so that the insert is slightly smaller than the cover.
Now that you know how big the pattern is, you can figure out how much fabric to buy. You will also need a zip that goes along the bottom of the back (the length of the bottom back edge seam minus a couple of inches.
2. Sew the Insert
Sew the shoulder seams together, right sides together.
Sew the back and front together, leaving a couple of inches hole in the centre to pour the plastic pellets in. Clip along the curved edges. I then did the overlocking stitches along each edge.
These are the plastic pellets I used.
Calculations for pellets. I used between 3-5% of the child's body weight.In this case approx 650 - 700g. Whatever number you get, divide it roughly by 5. One fifth will go in each front flap. Three fifths will go in the back.
Pour the pellets into one of the front flaps. It should be fullish, but not so full they can't move around, or that it makes it cumbersome. To stop the pellets sinking to the bottom when worn, I handsewed a knot through all layers in the centre of the front flap (see below).
Then I sewed the shoulder seam closed.
Do the same for the other side.
I also sewed along the edge of the neck line as this would probably be an area that receives some stress over time. (See below)
Fill the back up. Pin the hole closed and try it on. Add more pellets, or take some out until it seems comfortable. It should feel flexible like a heat pack would. Then sew up the hole through which you poured the pellets in.
I wrote a warning on it not the heat the pack.
3. Sew the cover
Pin the cover pieces together, or at least align them so that you can pin the zip on accurately. I did an invisible zip. Google it to find instructions on putting zips in, if you need.
Then sew the rest of the cover together. Clip curved corners. Overlock the edges, as the cover will be removed for washing as needed.
Insert the insert into the cover. In my example, I barely managed to get the front flaps through the shoulder seams of the cover. So if I made it again, i would make the shoulder seam wider. Note that the front flaps need to be as long as this or thing will slide back of the shoulders - the long front flaps weight it down on the shoulders.


