Monday, December 6, 2010

Christmas bunting

Christmas! I´ve finally gotten onto making some Christmas bunting between bouts of colds, after caving in and buying some pinking shears on sale at Thimbles & Threads.

You just cut out lots of isosceles triangles and them wrong sides together 1cm in from the edge. Then cut the edges with pinking shears. Finally stick the tops inside a length of bias binding tape and sew along the tape edge. Ta da!

The Pinnacles, Mt Ruapehu, North Island, New Zealand

Pencil case rolls


Here another couple of pencil rolls from Soulemama´s Creative Family book which I made as gifts for friend´s sons. Its made a huge difference to my son, and he actually likes drawing things now. I realised after sewing them that I did the ties wrong - there should be two ties on one side only... oops. I just cut one off. Many thanks to wonderful Jellyspec for the fabric from her fabric stash.


Wellington Harbour, from our old flat, North Island, New Zealand

More bean bags...

Whew. More bean bags. I´m getting quite quick at making these, so I´ve decided to make them as gifts for people at our Playcentre who finish their Te Wai course (as I´m the Education Officer). Each little bag gets 4 or so bean bags in them.


Near Dunedin, South island, New Zealand

Tuesday, November 23, 2010

Peasant / folk t-shirt I designed

Here is a muslin of another go at designing a tshirt. I´ve just watched the original ice-dancing section of the 2009 Olympics and I loved all the peasant and folk costumes the skaters wore. This tshirt was supposed to be gathered at the neckline, with another underlayer at the neckline, like a peasant shirt, with cap sleeves. I think I´d like to try something like this again, but with a woven fabric peasant shirt.
The neckline on the paper-pattern is a very defined flat U-shape, like a folk peasant shirt, but made up in a knit material it curves alot more, like a scoop neck. I´d might make the U-shape sharper neck time.
The neckline is a 1:2 increase for gathering, just at the base of the neckline, and 1cm up on the neckline curve, (but no additions on the sides). I did the increases as per Cal Patch´s book Design It Yourself:Patternmaking simplified. I took the sides in slightly so that the shirt would not be too baggy due to the extra fabric along the neckline.
The fabric is some lycra from my friend Anna - thank you! The purple is cut off an old scrap tshirt.
Lyttleton Harbour, South Island, New Zealand

Friday, November 19, 2010

Amy Butler Cabo Halter

Here is my first go at the Amy Butler Cabo Halter. I made the Medium size. I didn´t alter the length, however, I did do a SBA (or more accurately, a NEBA), so that the neckline didn´t gape, by altering the angle of how the front top meets the front bodice. I sewed it together as per the pattern using 4.5cm stitches to see what size gape needed fixing, undid it, then moved the front pieces about 2cm down in the centre. (not at the sides). This was great and solved the problem, until I edgestitched the top bodice, which somehow stretched the fabric marginally (but enough to gape again). I´m not sure what I would do next time, as I think the bodice does need edgestitching and joining as the halter top is very low cut. Perhaps, do sba fitting after edgestitching.
The left hand pic is with the top worn as a halter top, which gapes a bit imho. The ties just reach to the back upper bodice, so I could turn the ties into shoulder straps - the right hand pic is with the ties pinned as shoulder straps instead. Still considering which option to do.
The pattern is easy to follow, and I´ll definitely make some more (with a better SBA). Also, it is very low cut, and I think I´ll add 1/2 cm onto the neckline next time.
Wellington Harbour, from our old flat, North Island, New Zealand

Monday, October 25, 2010

Bean bag party favours for boy´s party

I´m a bit sick of all the plastic things that go with birthday parties, so I thought I´d make some mini bean bags as the party favours for my son´s party. The finished size of the square bags are 2 inches square (not including seam allowances), and they have only about 1 1/2 to 2 tablesppons of wheat in them. They don´t feel heavy at all, but they are actually just the right size to do bean bags games, but without incurring that head-breaking velocity that a 5 year old can create throwing any heavier beanbag. I put them in little bags, but I forgot to take pics before giving them out, so here they are in a little bag I made a while ago.
It was a pool party, so I thought I´d do an ocean theme, and started making fish bean bags, a tiny bit bigger. These were for the guests´ younger siblings, who also came. I experimented with lots of different types (fin, no fin, edgestitched), and decided that the best prototype fish :o) was the one in the bottom left hand corner (no edgestitching, no fin).


Wanganui River, North Island, New Zealand

Sunday, October 24, 2010

Feet wheat packs

Here are some wheat packs for feet which I´ve made for my son´s kindergarten teachers as a goodbye present. The blue and green things are the inserts, and the yellow, red and pink ones are the covers. The covers slip on the wheat packs like pillow-covers. I´ve drawn up some instructions on how to make them, and I´ll add them here in a few days.

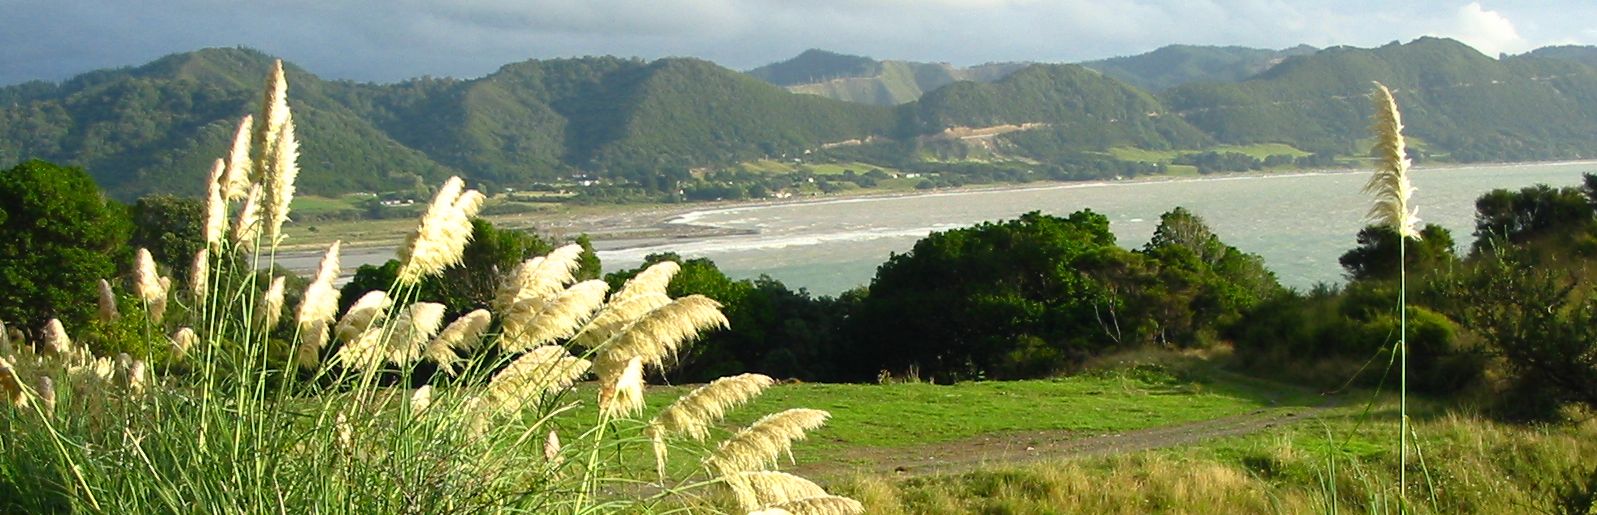
Near Opotiki, North Island, New Zealand