
I´ve made some hand-stamped envelopes from A4 paper, and I thought I´d put up a tutorial on how to do it. Why not.
 Step 1 (above). Start with an A4 piece of paper. I´ve already stamped the one above. It will make sense where the stamps need to be placed once you see one finished. In the above photo, I had a sun stamp that was meant to be in the centre of the back of the envelope, So I measured whether it was in the centre, found it was off bit a bit, and trimmed it a bit at the side.
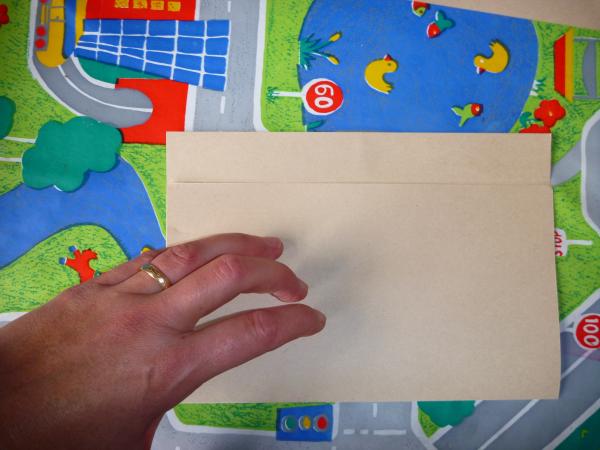
Step 2 (above). Fold the bottom half of the paper up to within about and inch short of the top of the page.

Step 3 (above). Fold the top leftover inch of paper down. I´ve used a different envelope to show this step, as I forgot to take a picture of this step when doing the original tutorial.

Step 4 (above). Lay it flat again. The envelope in three parts. On the far left is the back of the envelope, the middle section will become the front of the envelope, and the tiny right hand section is the flap. Put a ruler about half an inch in from the side and with a craft knife cut a line along the left section and the right section only, LEAVING THE MIDDLE UNTOUCHED.

Step 5 (above). Cut a notch out of the top and bottom of the middle section as shown, which will make the two cut bits fall off. Repeat for the other side of the envelope. See photo below for how this looks when done.

You can see now how the stamps need to be placed for an envelope. That is, they need to be in far enough from the side to leave enough room for the side flaps. When I am stamping an envelope, I fold it first (as in step one), and just guess how much room to leave for the side flaps.
Step 6 (below). Now cut a notch out of either side of the envelope flap as shown below.

Step 7 (below). Fold the side flaps in. Its easiest to do this if you fold the back up first.

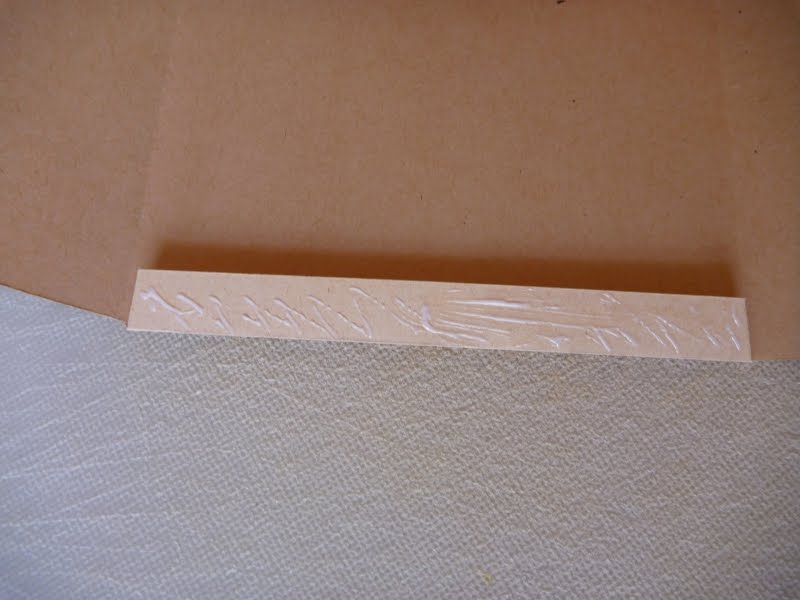
Step 8 (below). Unfold the envelope again as shown and put glue on the side flaps as shown.

Below: this is how much glue I use. If you use too much it will warp the paper.
Step 9 (below) Fold the back of the envelope over and press it onto the glued flaps. Run your fingers tightly along it to press the glue flat and make it stick well.
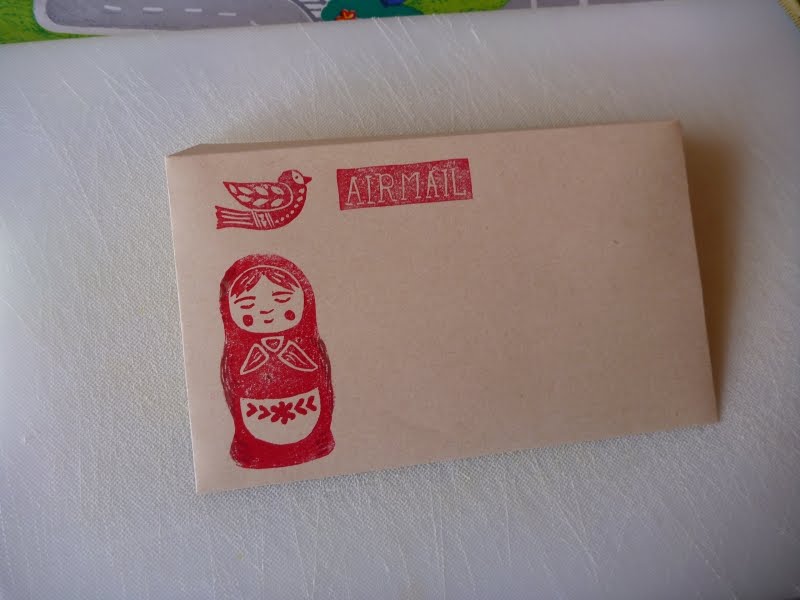
This what the front of the envelope will look like (below).
And this is what the back of the envelope will look like (below). The side flaps have been folded in and the back pressed over them, so they are no longer visible. The top envelope flat is not glued yet (after all, you have to leave it open until you are ready to send the letter!).

When you are ready to send the envelope, I would just glue the top envelope flat closed with glue again. However, if you want to have self-adhesive glue on the envelope flap (for example, if you are selling envelopes for a person to use themselves later), then there are remoistenable glue recipes here. I haven´t tried them yet though.
Have fun!
2 comments:
Thank you!! :o) Have fun!
Post a Comment